Posts

Showing posts with the label Blender

My Tahu Tribute Video was Featured in This Year's 810NICLE Day!

Wow! I've been a bit busy as of late (hence my posting over a month after the event in question), but it's an honor to have my Tahu 90th Anniversary recreation in the formal 810NICLE Day stream! (For the uninitiated, this is completely fan-run, currently two-day stream, and features interviews with official BIONICLE staff, various fan works of the last year, and more.) The stream is currently down, but the full contents are available as a playlist here !

Tahu 2001 Animation Recreation (90th Anniversary Form)

Image
One shot was never enough.  With real life kicking in and my specializing in a different field, I honestly thought most of Blender was behind me, outside the occasional test or minor project. However, this is probably my most advanced full-CG Blender project yet! I'm really grateful to learn that life doesn't have to put an end to projects like this. In any case, this was a full, multi-camera project rendered in Eevee (although the mask in the final shot was rendered in Cycles), and it used no small part of everything I'd learned (and some I hadn't yet): HDRIs, shape keys, multiple cameras, animated procedural texturing, and even gravity/collision physics. (I still don't dare attempt fluid simulation; the lava in the second-to-final shot used up to 6 shape keys to imitate both generic "waves" and its reaction to the falling rock.) In the meantime, I used After Effects for some minor compositing, sound, all of the final shot outside the mask itself, an...

A Brief Follow Up on my Previous Post...

Image
Oh no I guess a couple images weren't enough! Now, this could just be a one-shot project, but...

BIONICLE: Tahu In His Element

Image
Now that BIONICLE's return is (in a sense) confirmed and imminent, I decided to jump on the hype train and place the Toa of Fire's latest iteration into some Ta-Wahi scenery!  Tahu himself was made with Stud.io, but the rigging and background were done by myself. I used some displacement maps here to actually affect the ground's geometry, and I was able to use a scratched-metal texture's bump map to add some scratches to Tahu in imitation of his 2001 animation, too!

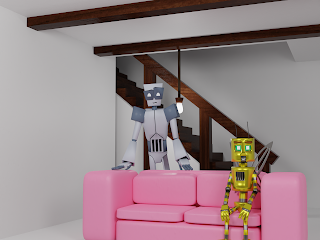
Robotrio: Cast and Dant at Home

Image
It was an excellent experience working on a number of posts for Ace McNacho's in-universe blog, and for my last post there, I wanted to add a little something special. With that in mind, right after the events of Robotrio's first season, here are Cast and Dant, both safe and sound! The first image was my pure Blender render, while the second reflects some changes I used in Gimp to add some depth-of-field style blurring and slightly change the lighting (I could've used Photoshop, but why not go open source?).     Among other things you may have noticed, I've (ethically) given Cast an upgrade! He now has new hands with three fingers, shoulders that can rotate independently from the torso, separated eyes that can allow for more dynamic expressions, feet (invisible though they may be), and a new mouth based on a tutorial Lei found for me ! In the future I'd like to make the house a bit less clean-looking to be more realistic (it looks more like a vacation house than a...

810NICLE Day 2021: BIONICLE Logo Recreation

Image
For this year's unofficial BIONICLE celebration day (the blog post came a little late for August 10th, but I put it on YouTube in time), I decided to whip up a logo recreation in Blender, using After Effects for some fancier lighting/compositing. I was trying to recreate the rarely-seen animation at the start of this commercial: https://biomediaproject.com/bmp/files/vid/More/Promo%20CD%20Videos/BohrokSwarmIntro.m4v .    I felt some aspects could use a bit of work, particularly with the camera, but for the time allotted I think it turned out pretty well. This is also one of my first attempts at node-based procedural textures in a while, so anything that helps me learn is a win on my count.  The sound, as well as the reference video, belong to LEGO; thanks to BioMedia Project for archiving.  

Heracles Engineering Robotics Showcase: DANT-1C

Image
Exciting news: building on my promo work for Robotrio, we now have a showcase video for Dant! I worked on the writing, editing, and modeling/animation for this project, alongside some minor compositing/motion graphics and material work (although the more complex motion graphics were taken from stock video). I'd especially like to thank HahliNuva of Red Star Games for the cell shading used starting from the 30-second mark--which also marks the first time I've collaborated with someone else on a 3D project.   This is also the first time I've taken a hard look into node-based procedural textures, using them for the wood in Dant's stage (learning from a tutorial) and inspired by the game .kkreiger 's procedural work. Their lack of reliance on traditional textures makes them both convenient and future-proof, since deleting textures or even moving them (or moving the Blender files) will typically break image textures if they aren't packed.

Robotrio Behind the Scenes: Castilles in 3D

Image
The robo-racer Castilles arrives!  As with Dant, Castilles started out as a blueprint, just so I could get an idea of his exact proportions before getting to work. The blueprint served as a perfect reference as an in-Blender background; guesswork based on episode/short-based screenshots wouldn't have turned out half as well without a good 2D starting point.  Some factors, including his lower limbs and head, were notably easier than some of my other work, since they can easily be drawn from distorted and/or extruded cubes. The mouth, at least in Castilles' head was perhaps the easiest of the three, being a simple distorted cube. The mouth, at least in its current form, was done through an interesting mix between an armature bone for the jaw and shape keys for the overall mouth shape (and compensating for any weirdness that the first option leaves), meaning that all three robots currently have three different mouth styles.The canonically expressive visor, though, was far mo...

Robotrio Behind the Scenes: DANT-1C!

Image
T he nature-focused diplomat bot from Robotrio, DANT-1C, has joined Ace in 3D! I'll keep my making-of down to one post this time, since I have a feeling I'll be able to move a little quicker here. I decided from the get-go that I should know exactly what Dant's proportions were, so I started designing an on-paper blueprint that fit Dant, keeping in mind his canonical height (3'6", for those who don't know). After that, I got to work!  Most of Dant was fairly easy, since he's mostly made up of cylinders. I had to change the ends of his forearms some to give his hands room to rotate, but most of his design stayed fairly identical to his 2D self. I suspect choosing how far one goes in realism vs. faithfulness to the original aesthetic is a challenge for many a 3D artist, although Leena informed me that I should stick with a fairly literal translation of the original art style wherever possible (i.e. the arms and legs' stripes shouldn't be individu...

Good Friday

Image
 As a hobbyist 3D artist, I would recommend doing projects you really care about--not in a fandom kind of way, but nothing is going to take you as far in your creative endeavors as doing something that really, personally matters. I've been doing images Good Friday on and off since 2015, and it's helped me to delve deeply into some topics I wouldn't have normally felt the need to research, including nodes and volumetric materials. 3D is a medium that can be used for worship like any other, so why not dive in and go all the way?     I decided to lean more towards allegory in recent years, switching from emphasizing accuracy itself to depicting the more cataclysmic event that the Crucifixion is at its core--the reuniting of Heaven and Earth and the unwriting of the rules of death. One doesn't have to abandon a realistic art style in order to convey this sort of symbolism, so I decided to give it a try. Decided it would be best not to go into much technical detail this time...

Robotrio Behind the Scenes: Ace McNacho in 3D, Part 2

Image
When I last left off, Ace didn't look bad, but there were a couple of issues. First off, at this point the color scheme felt extremely desaturated (see left), despite my choosing the exact colors--to the pixel--of the non-shadowed areas in Ace's character reference sheet. I consulted Leena about it, and it turned out that 2D Ace's darker colors were more saturated than his lighter colors, which helped the 2D image "pop" more. Sure enough, once I darkened and saturated Ace's coat to something of a mix between the two values, it looked much closer to Ace. Another issue was the lighting; the "window" was set up to emit light, but it was emitting a remarkably small amount of it--enough so that the fake lighting of the bottom-right corner was brighter than its "source." With that said, this was a pretty easy fix, and scaling the scene down to be closer to Ace's canon height forced me to redo the lighting anyway. The biggest change was ...

Robotrio Behind the Scenes: Ace McNacho in 3D, Part 1

Image
After revealing him on Twitter a few days ago, I'm proud to reveal what I've been working on these last few months: my sister Leena (Nephthys, for those who don't know) has hired me to do some 3D promo work for her original series, Robotrio! This was quite a journey, so I'll be doing two posts this time , but before I show you how I got there, I'd like to lead with the finished product: Ace McNacho, P.D.B. (next to his appearance in the series' first character video ; be sure to check it out !).   I first started Ace's construction without the outfit in mind, using some info Leena gave me on how his overall frame looked to take him into 3D. Given that much of the body was actually made of simple shapes like cylinders and rectangular cuboids, much of this was relatively straightforward, although the head was possibly the most complex shape on the model--so much so that it was the first item I attempted, j...

ABYDOS: Incursion is Released!

Image
Here it is! I'm really thankful to my siblings Klenda, Zorg and Leena for all the acting, improv-ing, re-voicing and consulting; each of them brought new things to the table that vastly improved the script and execution thereof. This has propelled my abilities incredibly far even through the span of the movie's production, and it's marked my first time working with several features and tactics, including inverse kinematics, luma-based sky replacement, (successful) in-Blender 3D tracking and more! I also decided to push myself as a filmmaker rather than solely as a VFX artist, especially concerning editing and screenwriting; while I wasn't going for film- level masterpiece (which, to borrow from a college-related book, would probably work about as well as attempting Flight of the Bumblebee after learning my first chords), I decided to go a bit more advanced with story structure, theme and motif this time as a step forward. Hope you like it!  Not sure if I'll keep...

810NICLE Day 2020: Kopaka's Ice Spear 3D Concept

Image
And just like that, I think I've done more BIONICLE posts on this blog than I have on any given college semester. So inspired by a realistic take on the Master of Ice (edit: no longer online) made by my sisters, I decided to recreate Kopaka's 2015 weapon in Blender; my main goal here was balancing a faithfulness to the toy's aesthetic with a naturalistic practicality--in short, what would the spear look like if it could be used as a practical weapon? I'd made this some time back, but decided to post it in time for BIONICLE's unofficial fandom celebration day, August 10th.  Here are the original weapon and my recreation side by side: The creation process started with the spearhead, building the model from Internet-derived reference pictures before manually moving the model's vertices to better match the set (shout out to my main reference for this, an obscure 2003 video showcasing the same piece). For the daggerlike object below it, however (which I inte...

Revisiting a Certain Compositing Test

Image
So a little while back , I tried out Blender's Node Editor for the first time, and I realized I was able to composite footage of myself onto an image of the same shot's background (which, as it turns out, would be the same base technique at the heart of the superhuman leaping/falling distances in Clash of the Jedi and ABYDOS ). I decided to try it out using the Keying node, and while it looked pretty cool, it wasn't quite what I had in mind… So, over half a decade later (during my hiatus from the blog in 2019, in fact), I realized I could probably do a better job by now, so I decided to redo the same test. No problem: just fire up After Effects, drop Keylight onto the footage and throw on an adjustment layer to color correct the remaining yellow-green tint… but then I realized an issue. I didn't even have After Effects in 2013; of course I'd be able to do a better job in a more compositing-oriented program! Instead, I decided to go back to Blender. First o...

The Return of Yoda...

Image
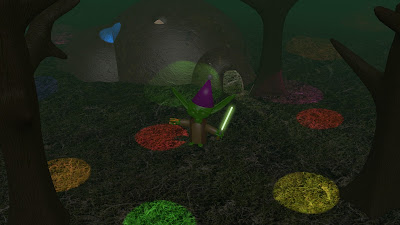
Some thought it wouldn't happen.  Had I left the world of mutant monkey heads?  Had I forgotten that Yoda was still an unfinished project, and that five years ago I had promised his return in Japanese? Fortunately, it occurred to me to do something!  So, for the 5th anniversary of my previous Yoda post and my 100th post on this blog, I'm glad to present my latest variant on Yoda! I'd been thinking about this project on and off; in 2016 I'd replaced the cylindrical lightsaber with one from a different project (similar to my replacing a spherical hand with my sound project's claw), googled a tutorial to get a glowing lightsaber effect, modified the hut's door a bit and added some image textures from a fan texture pack in a version I dubbed mark 4.5, but not having the artist's permission to share it, I decided it was best to to try again.  A little while later, I decided to go for a bit more of an overhaul featuring a much more accurate hut--apparent...

Animation Test: Walking on Uneven Ground

Image
    Ta-da!  I ripped some models from a game and made an animation with them to convince myself that ripping them was useful! (Also, I made my first video done completely in Blender since 2015!)      Again, neither Samus nor her gunship's models/rigging were made by me; both were ripped from the first Metroid Prime using the fantastic HECL.  For some reason I actually like the model from Metroid Prime 1 better than the one from Prime 2/3 (I think it may be the relatively minimalistic use of lights combined with less feminine-looking armor).  I was around halfway through this tribute to the underrated franchise when Prime 4/Samus Returns were announced, so I guess I'll call it a celebration of the franchise's return instead.  Also, for what it's worth, I'm calling it an "animation test" because there's not enough to the video to do the word "fanimation" justice ',:^|.      As the title implies, this is a jump fo...

More 3D Modeling!

Image
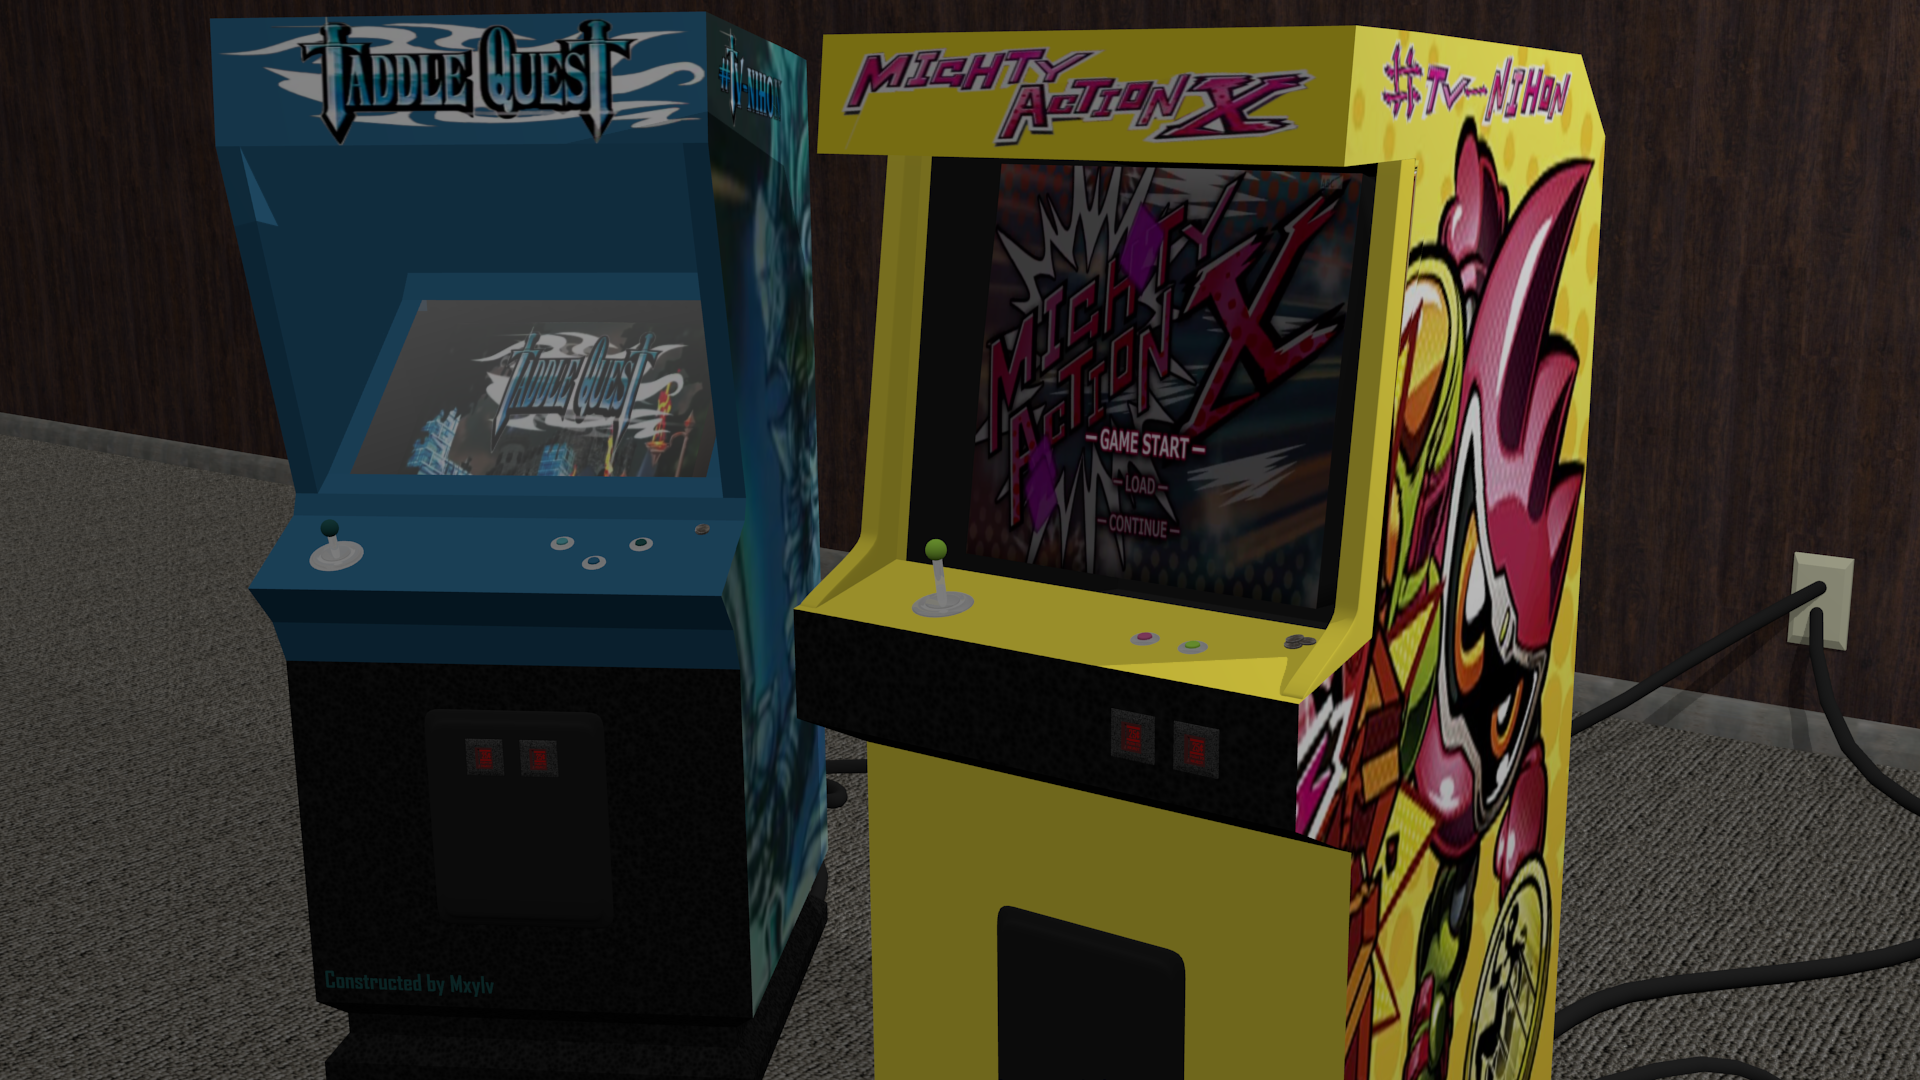
    Continuing my splash work for TV-Nihon, I decided to do one in Blender instead of using Photoshop.     I feel like this represents the start of a turn into more advanced 3D modeling for me.  I hadn't done much with Blender in quite a while--mostly animating the Walking Death in ABYDOS and making fan work with 3D models from games--but here, I feel like I stepped into a newer era of 3D modeling by constructing more complete background scenes with image textures and objects created from the ground up.      Made near the end of 2016, this still uses Blender's internal rendering engine, which is basically obsolete, so the picture's lighting isn't nearly photorealistic, but it does use image textures to a far greater degree than it'd been done in much of my earlier work, which helps add more realism and distract from other things like the number of commas I put into this sentence. 

Abydos is Completed!

Image
After over a year of work, I'm finally done--and just in time, too, as my new college semester starts soon! This is by far my most ambitious video project to date, with both my After Effects and my Blender skills used to a much farther extent than anything I'd done before.  Aside from its technical aspects, there was a lot of acting, scripting, and even voiceover dialogue to an extent that my family's never tried before.  This took quite a bit of doing, and I can't wait to post about how it was made!  For now, let it be said that there was a lot of masking.  That said, there will be making of videos, and I'm hoping for a sequel!  I already have several ideas for new technical improvements... Ignore the Lights.  

Catching Up (Finally)

Image
Wow.  Between summer camp, a beach house and a week-long drive, I really haven't been doing much.  But anyway, here's my final project from the college class that I finished over two months ago !  Again using Cycles render, I built the room based on pictures, measurements and a self-made floor map of my grandparent's kitchen!  While it's a bit grainy (due to the Cycles mode) and it isn't the most interesting thing to look at, the room itself is possibly the most realistic thing I've rendered, using different ways of modeling (e.g. a very extruded circle for the furnace) and image textures!  It was a fantastic class, and I've learned a lot from it!